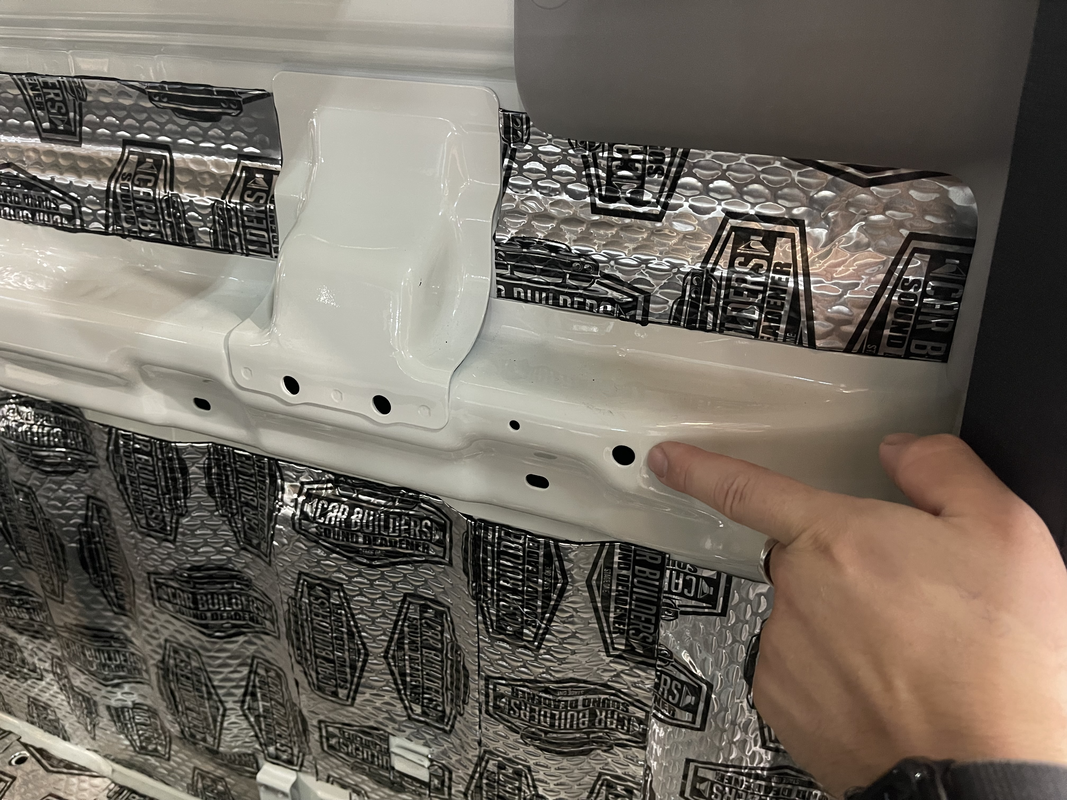
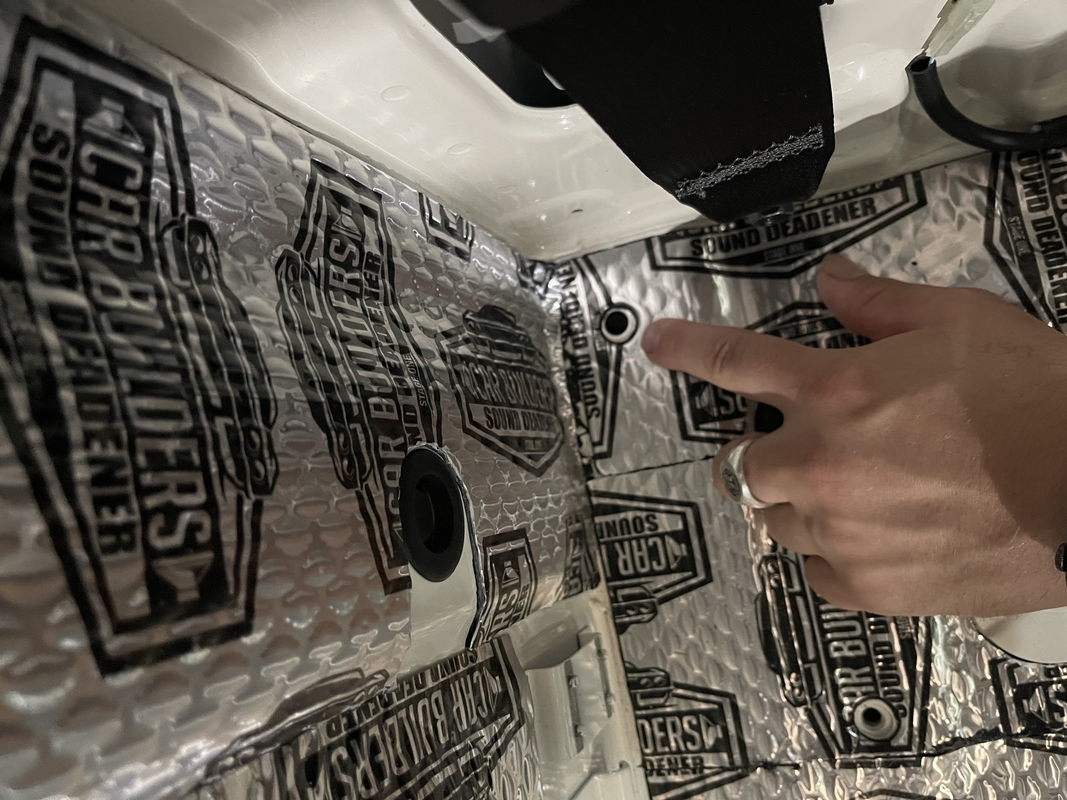
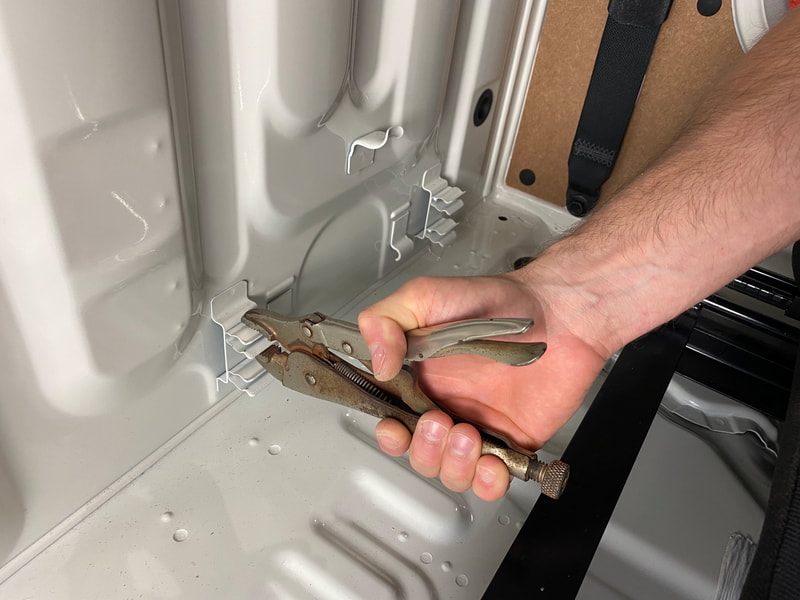
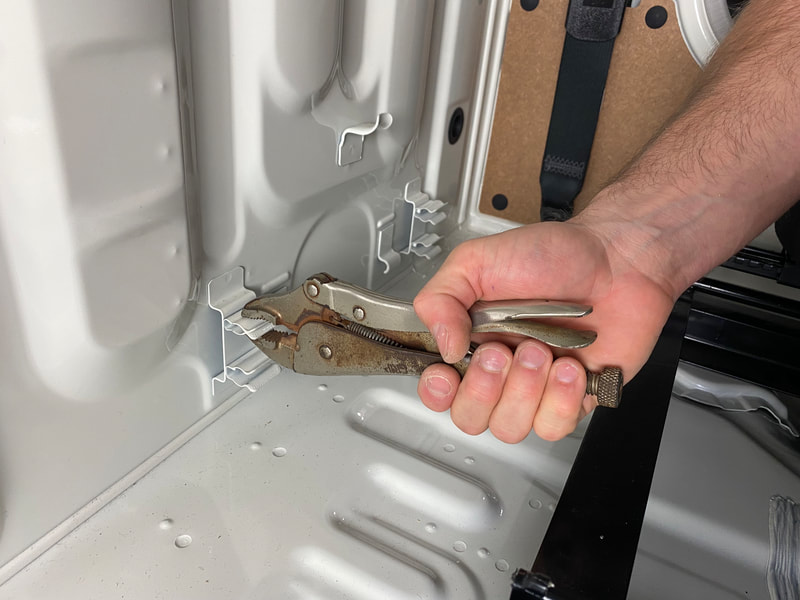
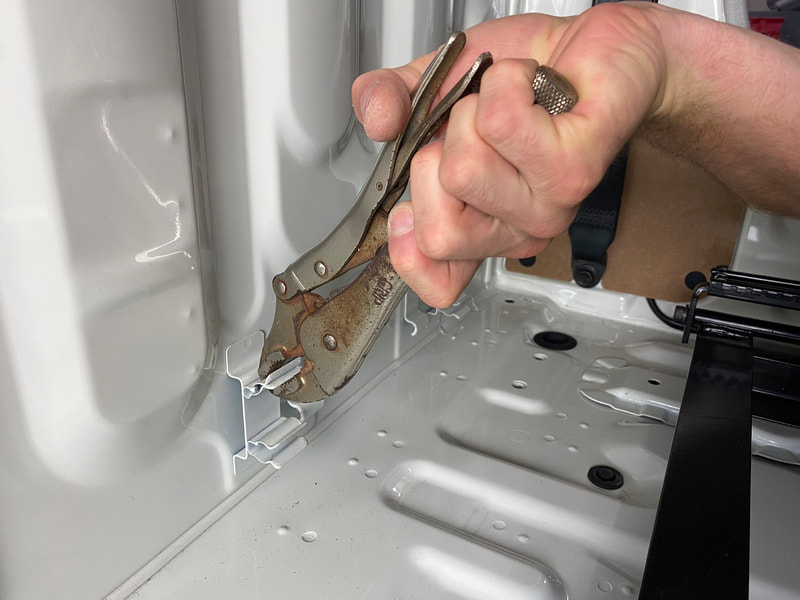
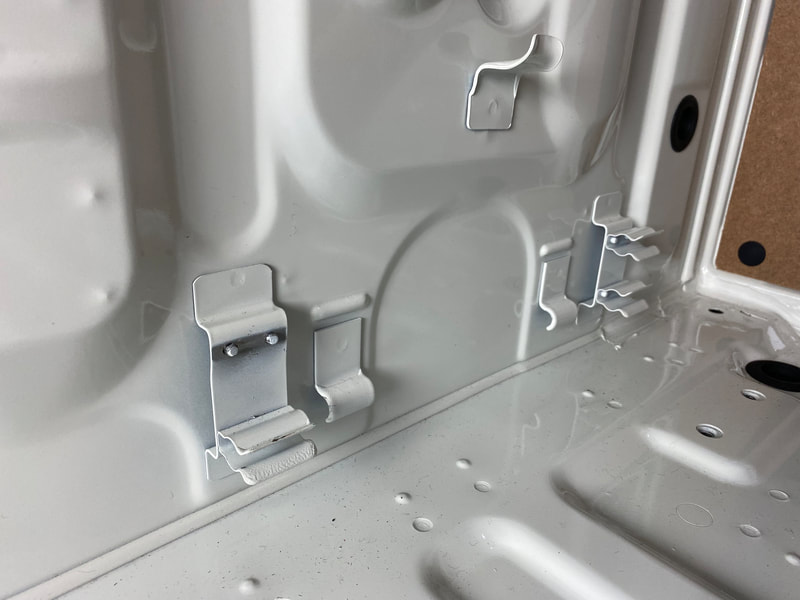
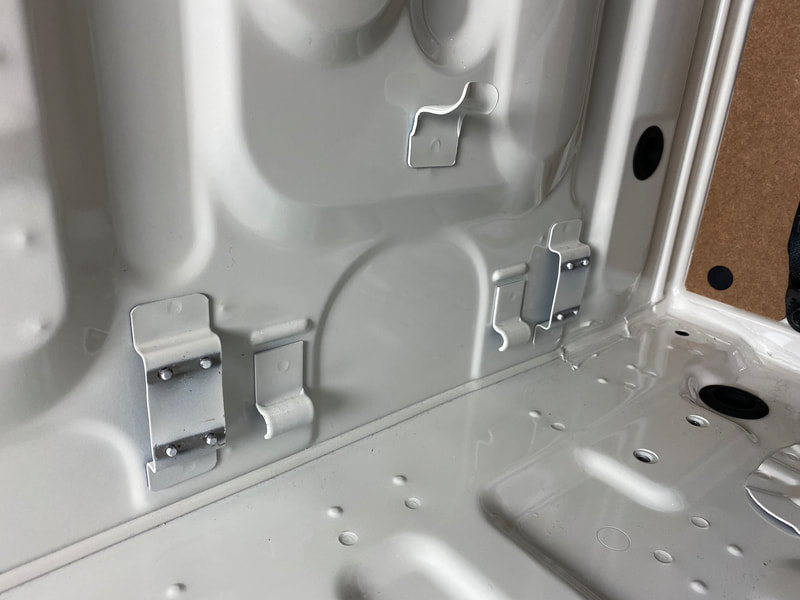
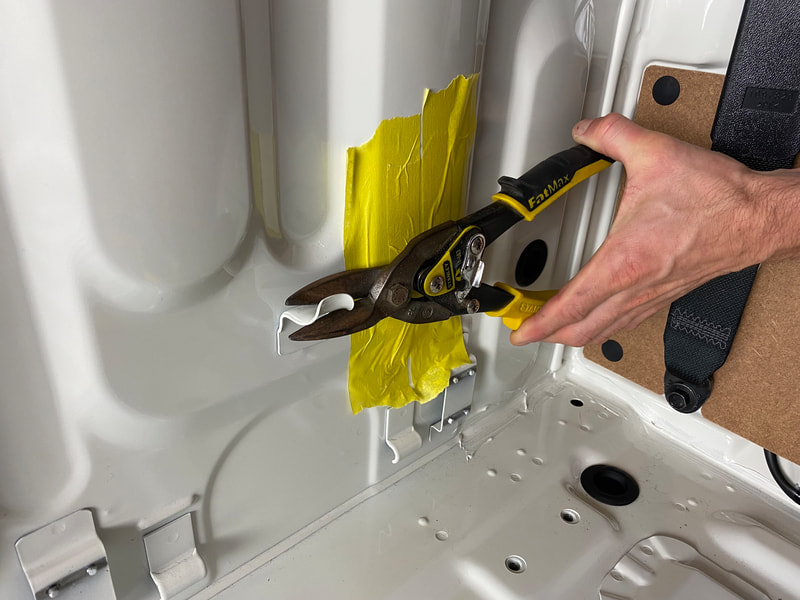
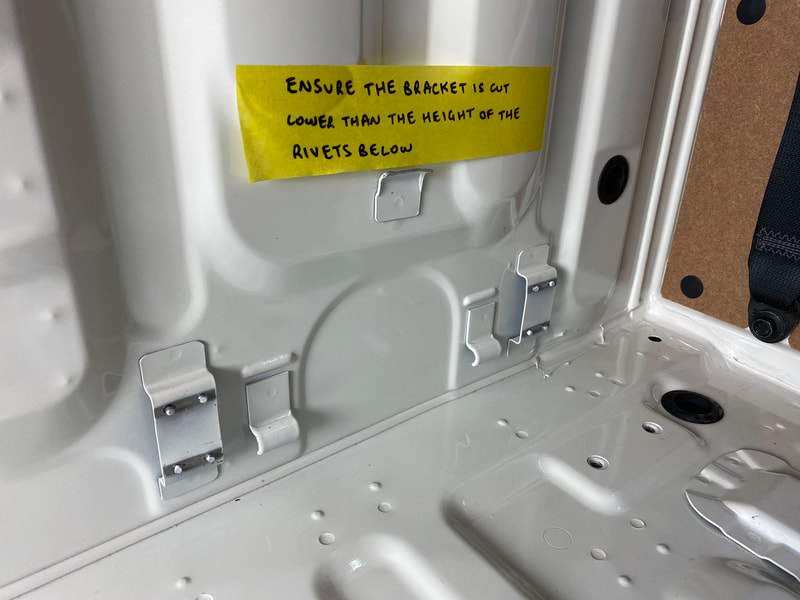
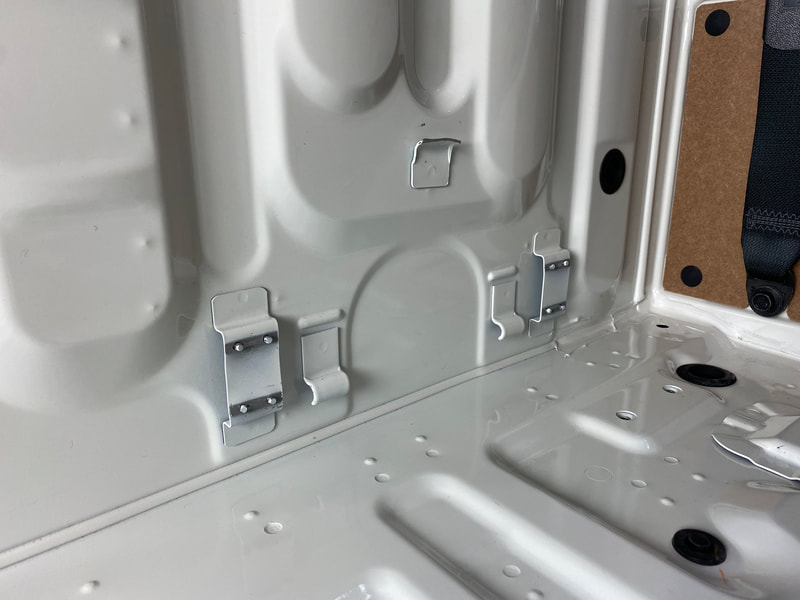
Fit the two supplied rivnuts to the factory holes in the bracing running across the rear wall of the vehicle as shown in the photo attached.
We supply two fastening options for the bottom section. You can either install two rivnuts in the holes indicated in the photo or use the nut and washer supplied. Please note, that if you decide to use the rivnuts, you will need to apply two pulls to achieve the ideal grip as the hole is slightly larger than the ideal 9mm hole size. The rivnuts will pull up correctly in this hole size. This is the installation method we use at our facility.
- Position the bottom section in the vehicle and secure the half-moon shape washer and zinc Phillips head bolt. Don't tighten yet. Note, we add some medium-strength Loctite to the bolt.
- Position the top section in the vehicle and secure the black bolt and black washer.
- Press the bottom section against the rear wall of the vehicle firmly and tighten the bottom two bolts.
- Tighten the top two bolts. Be careful not to over-tighten these. They just need to be firm.
Additional Notes:
This product fits vehicles either with no sound deadening installed, or with stage one 3mm sound deadening installed on the rear wall of the vehicle only. If you have a second layer of sound or thermal insulation installed, this may need to be removed. We use Car Builders Stage 1 'Sound Deadening' on the rear wall only. The Rear Wall Panel you are installing is plywood and carpet, when is an excellent sound deadener and insulator.
This product fits vehicles either with no sound deadening installed, or with stage one 3mm sound deadening installed on the rear wall of the vehicle only. If you have a second layer of sound or thermal insulation installed, this may need to be removed. We use Car Builders Stage 1 'Sound Deadening' on the rear wall only. The Rear Wall Panel you are installing is plywood and carpet, when is an excellent sound deadener and insulator.

