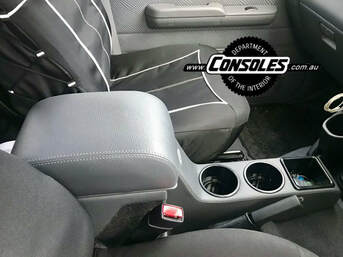
Step 1: Position the console between the seats ensuring the base of the console follows the floor shape and that the gaps between the console and each seat are even.
Kindly note that if the factory underfelt has been removed to add aftermarket sound deadening, or a thermal insulation layer has been added below the factory carpet or PVC flooring, the floor shape may be different. We’d recommend lifting the carpet or PVC to adjust the layer below if this needs to be rectified.
Step 2: Remove the vinyl lining from inside the console storage bin and remove the front accessory in the console (this will either be a plastic cup holder or plastic square storage pocket depending on the product you purchased).
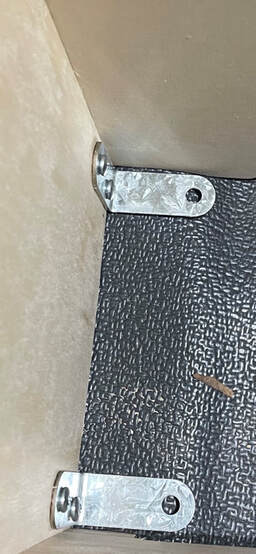
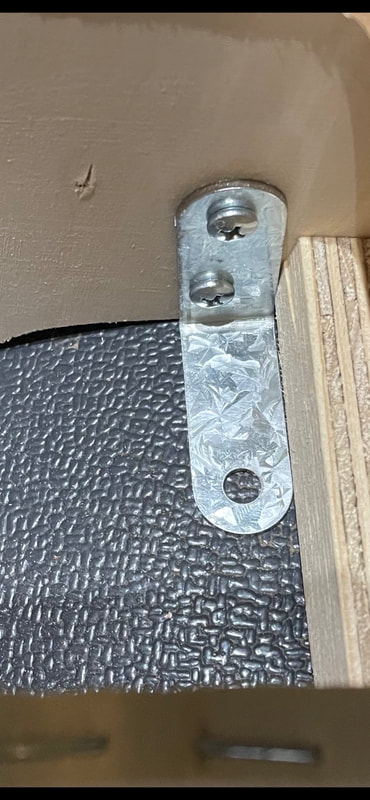
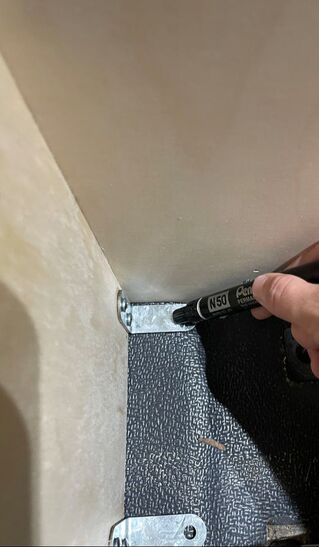
Step 3: The console fits to the vehicle using 3 ‘L’ brackets. 1 front and 2 rear. Once the console has been positioned correctly, mark the positions of the mounting bracket holes on the factory carpet/ PVC flooring.
Step 4: The most important step in these instructions is to check below the vehicle to make sure that the holes you are going to drill in the floor to secure the console are not obstructed by anything under the vehicle. Check thoroughly.
Step 5: We will supply two options of fasteners to secure the console to the floor. You will find M6 nutserts and self-tapping screws in our fitting kit. If you are opting to fit nutserts please go to Step 6.
If you are opting to use self-tapping screws, remove the console from the vehicle, drill three 4mm holes in the locations of your markings. We’d suggest using a drill stop or step drill bit to avoid drilling deeper than required. After the three holes are drilled, clean any debris, position the console in the vehicle and secure using the screws supplied.
Step 6: If you are using the M6 nutserts supplied, you will need to drill three 9.5mm holes in the vehicle. We’d suggest using a drill stop or step drill bit to avoid drilling deeper than required. Once your holes are drilled, clean and debris and install the M6 nutsert using a nutsert tool. It is important to make sure the flange is contacting the steel floor, and not sitting up on sound deadening or the carpet/ PVC flooring as this will make it sit unevenly. After the nutserts are installed, position the console in the vehicle and secure using the M6 nuts supplied.


